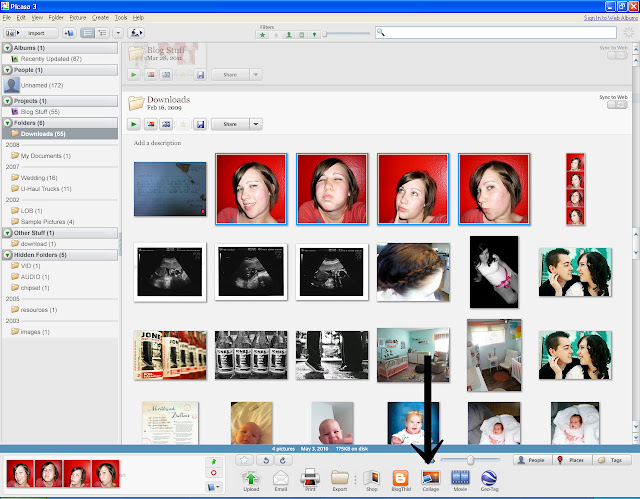
For this header tutorial for the Better Blog Series we will be using a program called Picasa.
If you are not already using Picasa to organize your photos, you need to download it. Like now.
It's free and easy to use.
Step 1:
Open Picasa, select your photos, and hit collage.
Step 2:
Select Picture Pile and give them each a Polaroid frame.
Step 3:
Move and resize them so they fit properly at the top of your collage box.
Step 4:
Click Create Collage.
Step 5:
In Basic Fixes, crop off your excess edges.
Step 6:
Add your text and click apply.
The good thing about using Picasa while making headers is, you can use any font you have on your computer to add to the header.
Add your text and click apply.
The good thing about using Picasa while making headers is, you can use any font you have on your computer to add to the header.
So just go out and find some fun fonts! I really like THIS site.
If you don't know how to download a font, just let me know.
Step 7:
Save your header and upload it!
*note I like to combine my resources to create headers.
For my current header, I made the dot line in Picnik, saved it with a border and added the text in Picasa.
Easy as pie!


1 love notes:
Thanks for this great idea. I have been looking for an easy way to create a header for free! This works.
Post a Comment